Introduction
Hey there, lovely readers! Are you ready to dive into the wonderful world of DIY skincare? We are thrilled to share some amazing secrets with you on how to create your very own calming, nourishing, and toning homemade skin masks. This article is specifically tailored to all you young women and men out there who are eager to pamper your skin naturally and achieve that radiant glow you’ve always wanted.
Skincare is not just a trend, but a crucial part of self-care. It’s time to embrace the power of natural ingredients and learn how to whip up some fantastic homemade masks that cater to your unique skin needs. Whether you’re dealing with acne, dryness, redness, or just want to give your skin some extra love, these DIY masks have got your back!
So, let’s roll up our sleeves, grab some ingredients from the kitchen, and get ready for a fun skincare adventure! Get set for smoother, brighter, and healthier skin that will leave you feeling confident and fabulous!
Understanding Your Skin
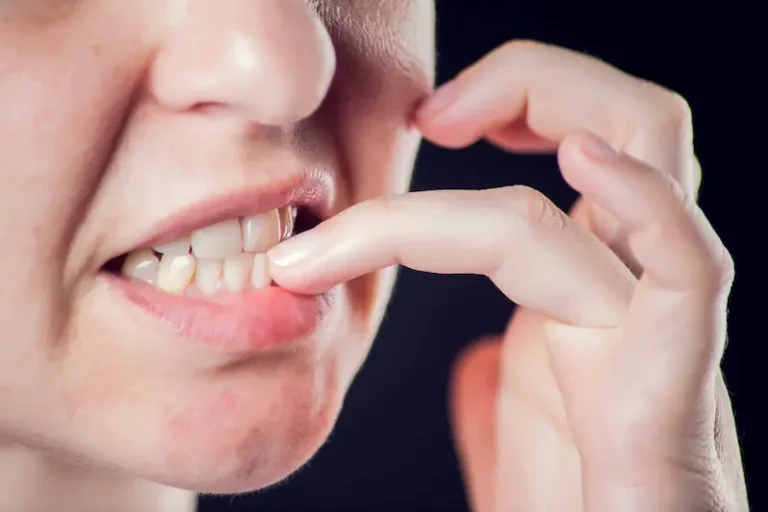
Before we jump into creating our marvelous masks, let’s take a moment to understand our skin a little better. You see, each of us has a unique skin type, and identifying our skin concerns will help us target them effectively. So, whether your skin is normal, oily, dry, combination, or sensitive, fear not! There’s a perfect homemade mask just for you.
If you struggle with acne breakouts or patches of dryness, worry not! Homemade masks can work wonders to address specific concerns and bring balance back to your skin. Whether you’re a skincare beginner or a seasoned enthusiast, these DIY masks are suitable for everyone.
Essential Ingredients for Homemade Masks
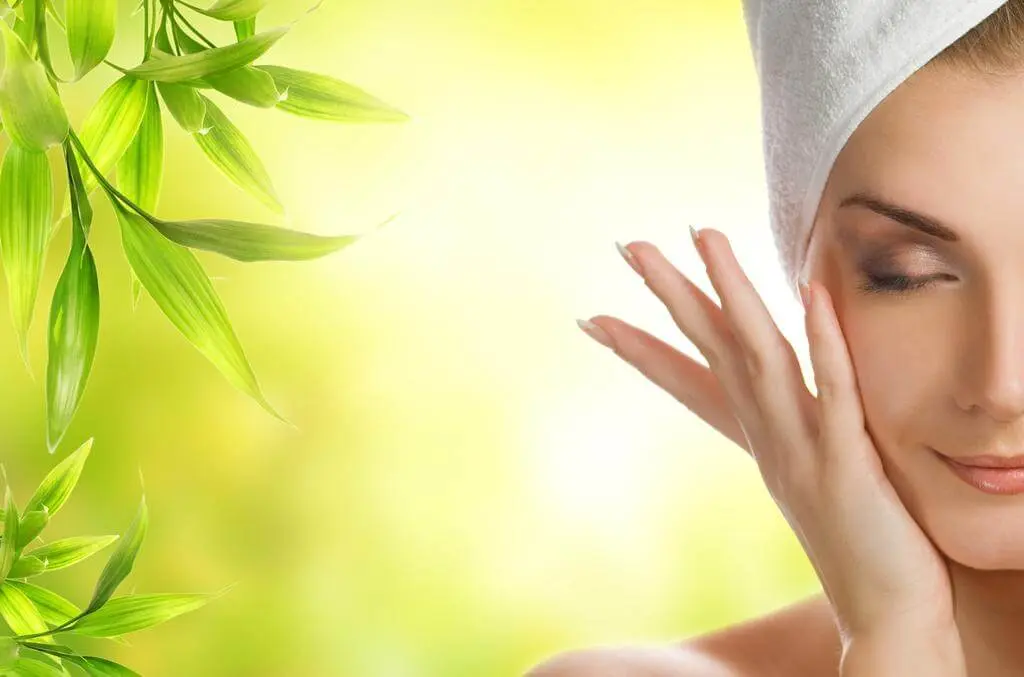
Now, let’s talk about the real stars of our show: the natural ingredients that will make our masks truly magical! From soothing honey and yogurt to hydrating aloe vera and nourishing avocado, we’ve got an arsenal of skin-loving goodies at our disposal.
Each of these ingredients comes with its own set of benefits, and the best part is that they are easily available and affordable. Plus, we can customize our masks based on our skin type and concerns, giving us full control over our skincare routine.
DIY Calming Masks
Our calming masks are here to the rescue! Take the “Soothing Oatmeal and Chamomile Mask,” for example. With just a few simple ingredients, we can create a gentle, relaxing potion that calms redness and irritation.
And if you’re seeking a refreshing way to cool down on a hot day while reducing redness, the “Cucumber and Aloe Vera Cooling Mask” is your new best friend! Imagine a spa-like experience right in your own home.
DIY Nourishing Masks
Picture yourself basking in the luxury of the “Hydrating Avocado and Honey Mask.” This nutrient-rich blend will leave your skin feeling soft, supple, and incredibly moisturized.
Or how about indulging in a treat for your skin with the “Antioxidant-Rich Green Tea and Banana Mask”? Bananas aren’t just for smoothies, you know! They can work wonders for your skin, making it look youthful and radiant.
DIY Toning Masks
Looking to tighten things up and get that firm, toned skin? Our toning masks have got your back! Say hello to the “Tightening Egg White and Lemon Mask,” which works wonders for minimizing pores and firming up your complexion.
For a spa-worthy exfoliating experience, the “Papaya and Pineapple Enzyme Exfoliating Mask” is the way to go! It gently sloughs off dead skin cells, revealing a brighter and clearer complexion underneath.
* Do you want a simple way to maintain flawless skin? Try this powerful formula, which consists of amazing plant extracts, such as Japanese Witch Hazel, Aloe Barbadensis, Jojoba Oil, Gotu Kola, Camelia Sinensis and more. To find out more, click the link below!
https://0bae3rghw8k1skv45yte4ong4k.hop.clickbank.net/?tid=tashhealth
As a ClickBank Affiliate, I receive a small commission at no cost to you, if you proceed to make a purchase.
General Tips for Using Homemade Skin Masks
Before you jump into making and applying these masks, a little precaution goes a long way. Patch testing for allergies and sensitivities is essential to ensure your skin agrees with the ingredients you’ve chosen. And don’t forget to complement your mask routine with a consistent skincare regimen for optimal results.
Precautions and Safety Measures
While we’re all about natural ingredients, it’s essential to be aware of potential allergens and irritants. If you have any doubts or underlying skin conditions, it’s always a good idea to consult a dermatologist before trying out new DIY skincare products.

DIY Mask Recipes: Your Skincare Magic Potions!
Alright, let’s get our hands dirty (in the best possible way) and start creating some incredible DIY masks! Remember, the key to success lies in choosing the right ingredients for your skin type and concerns. Feel free to experiment and find the combinations that work best for you. Let’s dive in!
1. Soothing Oatmeal and Chamomile Mask: Perfect for calming irritated skin and reducing redness.
Ingredients:
- 2 tablespoons of ground oatmeal
- 1 tablespoon of chamomile tea (cooled)
- 1 teaspoon of honey (preferably raw)
Preparation and Application:
- In a small bowl, mix the ground oatmeal and chamomile tea until you get a smooth paste.
- Add the honey to the mixture and blend it well.
- Apply the mask to your clean face, avoiding the eye area.
- Leave it on for about 15 minutes and relax while the magic happens.
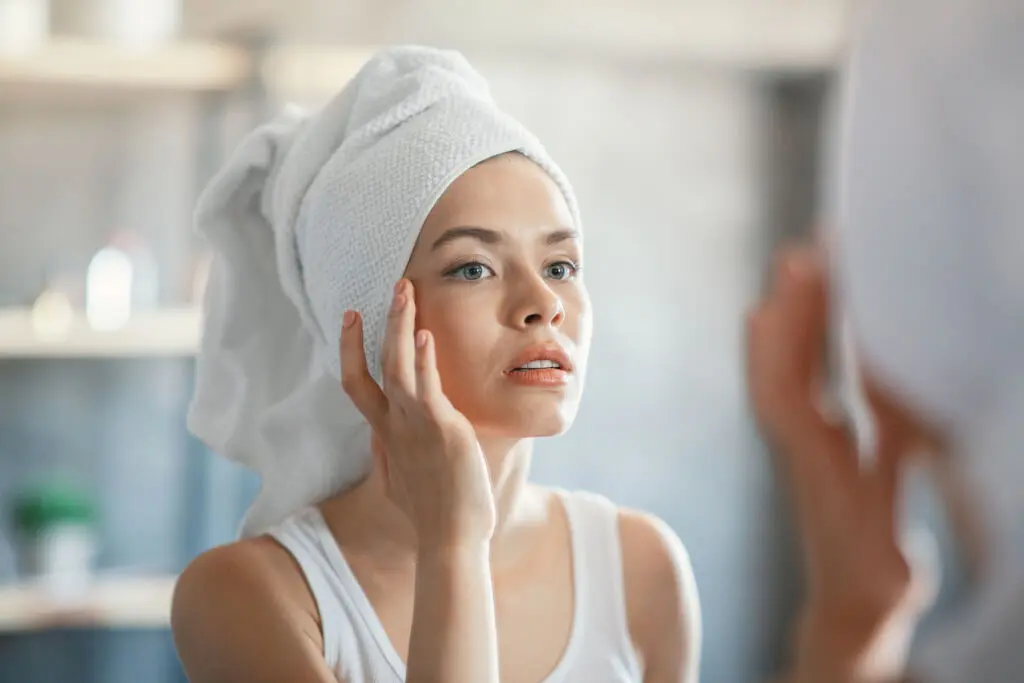
- Rinse off with lukewarm water and pat your face dry with a soft towel.
2. Cucumber and Aloe Vera Cooling Mask: For a refreshing treat that cools down redness and inflammation.
Ingredients:
- 1/2 cucumber (peeled and pureed)
- 2 tablespoons of aloe vera gel
Preparation and Application:
- Puree the cucumber in a blender until it becomes a smooth paste.
- Mix in the aloe vera gel and stir well until both ingredients are fully combined.
- Gently apply the mask to your face, neck, or any area that needs cooling.
- Sit back and enjoy the cooling sensation for about 20 minutes.
- Rinse off with cool water and feel the refreshed and hydrated skin.
3. Hydrating Avocado and Honey Mask: A nourishing potion to combat dry and thirsty skin.
Ingredients:
- 1 ripe avocado (mashed)
- 1 tablespoon of honey (preferably raw)
Preparation and Application:
- Mash the ripe avocado in a bowl until it turns into a creamy consistency.
- Add the honey to the avocado and mix it thoroughly.
- Apply a generous layer of the mask to your face and neck, avoiding the eyes.
- Let it work its magic for 15-20 minutes while you enjoy the self-care time.
- Rinse off with lukewarm water and reveal the soft, moisturized skin beneath.
4. Antioxidant-Rich Green Tea and Banana Mask: A powerhouse mask to rejuvenate and give your skin that radiant glow.
Ingredients:
- 1 ripe banana (mashed)
- 1 tablespoon of green tea (cooled)
Preparation and Application:
- In a small bowl, mash the ripe banana until it becomes smooth and lump-free.
- Mix in the cooled green tea and blend it with the banana.
- Apply the mask to your face and let it sit for approximately 20 minutes.
- Relax and unwind while the mask works its magic on your skin.
- Rinse off with water and enjoy the renewed and glowing complexion.
5. Tightening Egg White and Lemon Mask: For toning and firming up your skin, leaving you looking revitalized.
Ingredients:
- 1 egg white (beaten until frothy)
- 1 teaspoon of freshly squeezed lemon juice
Preparation and Application:
- In a clean bowl, beat the egg white until it becomes frothy and fluffy.
- Add the freshly squeezed lemon juice and mix it well with the egg white.
- Apply the mask to your face, concentrating on areas that need tightening.
- Let it sit for about 15 minutes, and feel the skin-tightening effects.
- Rinse off with lukewarm water and admire your refreshed and toned skin.
6. Papaya and Pineapple Enzyme Exfoliating Mask: To gently exfoliate and reveal a brighter, smoother complexion.
Ingredients:
- 1/2 cup of ripe papaya (mashed)
- 1/4 cup of ripe pineapple (mashed)
Preparation and Application:
- Mash the ripe papaya and pineapple in a bowl until they form a smooth mixture.
- Apply the exfoliating mask to your face, focusing on areas that need extra care.
- Let it work its magic for about 10-15 minutes.
- Rinse off with cool water and pat your skin dry.
- Marvel at the soft, radiant, and refreshed skin.
Remember, consistency is key, so try to incorporate these DIY masks into your skincare routine at least once or twice a week. Embrace the natural goodness and enjoy the journey to healthier and more vibrant skin!
General Tips for Using Homemade Skin Masks
Congratulations on creating your very own magical potions! Now that you have these fantastic DIY masks at your disposal, it’s essential to follow some general tips to ensure you get the most out of your skincare routine. Let’s dive into some handy pointers to make your mask application even more effective and enjoyable.
1. Patch Testing for Allergies and Sensitivities: Before you apply any new mask to your face, it’s crucial to perform a patch test on a small area of your skin, like the inner side of your wrist or elbow. This simple test helps you determine if you have any allergies or sensitivities to the ingredients. Wait for at least 24 hours and check for any adverse reactions. If all’s clear, you’re good to go!
2. Frequency of Mask Application: While these masks are gentle and made from natural ingredients, it’s essential not to overdo it. Using a mask once or twice a week is generally sufficient for most skin types. Overusing masks, especially exfoliating ones, can lead to skin irritation. Give your skin enough time to recover and breathe between mask sessions.
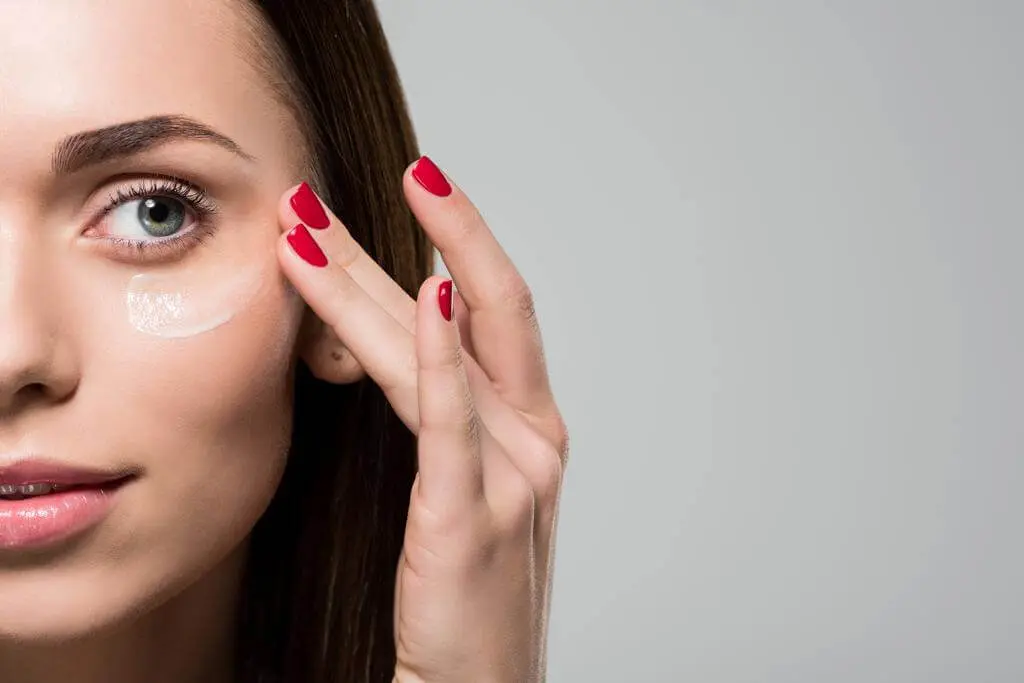
3. Complementing with a Skincare Routine: Homemade masks are fantastic for giving your skin that extra boost, but they work even better when combined with a consistent skincare routine. Cleanse your face before applying the mask, and follow up with a toner and moisturizer afterward. Don’t forget to use sunscreen during the day to protect your newly refreshed skin!
4. Adjusting the Mask for Your Skin Type: Remember that not all masks suit every skin type, so feel free to adjust the ingredients to cater to your unique needs. For instance, if your skin is oily, you may want to use a mask with clay to absorb excess oil. If you have dry skin, focus on masks with hydrating ingredients like honey and avocado. Experiment and find what works best for you.
5. Storage and Freshness: Since these masks are made from fresh ingredients, they don’t have a long shelf life like commercial products. Prepare small batches and use them within a few days. You can store leftovers in the refrigerator for a day or two, but it’s always best to use freshly made masks for maximum benefits.
Precautions and Safety Measures
While we encourage you to explore the world of DIY skincare, it’s essential to be mindful of certain precautions and safety measures to ensure your skin’s health and well-being.
1. Potential Allergens and Irritants: Some natural ingredients, such as citrus fruits and essential oils, may cause skin irritation for certain individuals. Always do a patch test, as mentioned earlier, and if you have sensitive skin, consider using gentler ingredients to avoid any adverse reactions.
2. Consulting a Dermatologist if Needed: If you have severe skin concerns or persistent issues, it’s best to consult a dermatologist before trying out new DIY masks. They can provide personalized recommendations and guide you on the best course of action for your specific skin needs.
3. Avoiding Common DIY Mask Mistakes: Although DIY skincare is fun and rewarding, it’s easy to make mistakes, like using ingredients that are too harsh or abrasive for your skin. Always research and double-check the suitability of ingredients before applying them to your face.
With these tips and safety measures in mind, you are all set to embark on a delightful journey of DIY skincare. Embrace the creativity, self-care, and joy that come with making and using your homemade masks.
Enjoy the process, and get ready to flaunt that healthy, glowing skin that radiates with natural beauty!
Conclusion
Well done, skincare enthusiasts! You’ve completed your crash course in DIY skincare and are now armed with the knowledge and skills to create your own calming, nourishing, and toning homemade skin masks. Give yourselves a round of applause!
Remember, skincare isn’t just about looking good; it’s about feeling good too! Taking the time to pamper yourself with these natural potions is an act of self-love and self-care. Embrace the journey of exploring and experimenting with different ingredients until you find the perfect match for your skin.
But hold on, the adventure doesn’t end here! There are countless other natural ingredients waiting for you to discover their skincare benefits. From cucumbers to turmeric, oats to rosewater, the possibilities are endless. So, keep that curious spirit alive and keep exploring!
Incorporate your DIY masks into a consistent skincare routine, and you’ll be amazed at the positive changes you’ll see in your skin over time. Don’t forget to complement your masks with healthy lifestyle habits like staying hydrated, getting enough sleep, and eating nourishing foods.
And always, always listen to your skin! If something doesn’t feel right or causes irritation, stop using the mask immediately and seek professional advice if needed. Your skin deserves the best care, and knowing when to adjust or modify your routine is essential for its well-being.
Now go forth, all you young women and men, and spread the joy of DIY skincare with your friends and loved ones! Host a skincare party, swap recipes, and have a blast while taking care of yourselves.
As we bid farewell for now, remember that beauty comes from within, and your skin is a canvas reflecting the love and care you show it. So embrace your unique beauty, celebrate your journey, and let your natural radiance shine through!
Thank you for joining us on this wonderful skincare adventure. Wishing you all healthy, happy, and glowing skin. Until we meet again, take care and keep loving the skin you’re in! ??